
Boost your game's user base and climb the charts.

Tap into market trends and seasonality to increase sales.

Connect with more customers and expand your reach.

Stay competitive in the market and accelerate growth.

Get more users on board to connect with their destinations.

Hit the jackpot; attract more users with your campaigns.

Scale your app - grow your audience, grow love.

Shape success; drive more downloads with targeted.

Find leads for your ad network or solution for the app market.


Explore the road to success through real stories.

Keep yourself up-to-date with MobileAction’s latest articles.

Sharpen your skills and expertise with MobileAction’s learning hub.

Learn at your own pace with step-by-step educational content.

Understand the industry language with the definitions of key terms.

Test your Apple Ads knowledge and get certified.

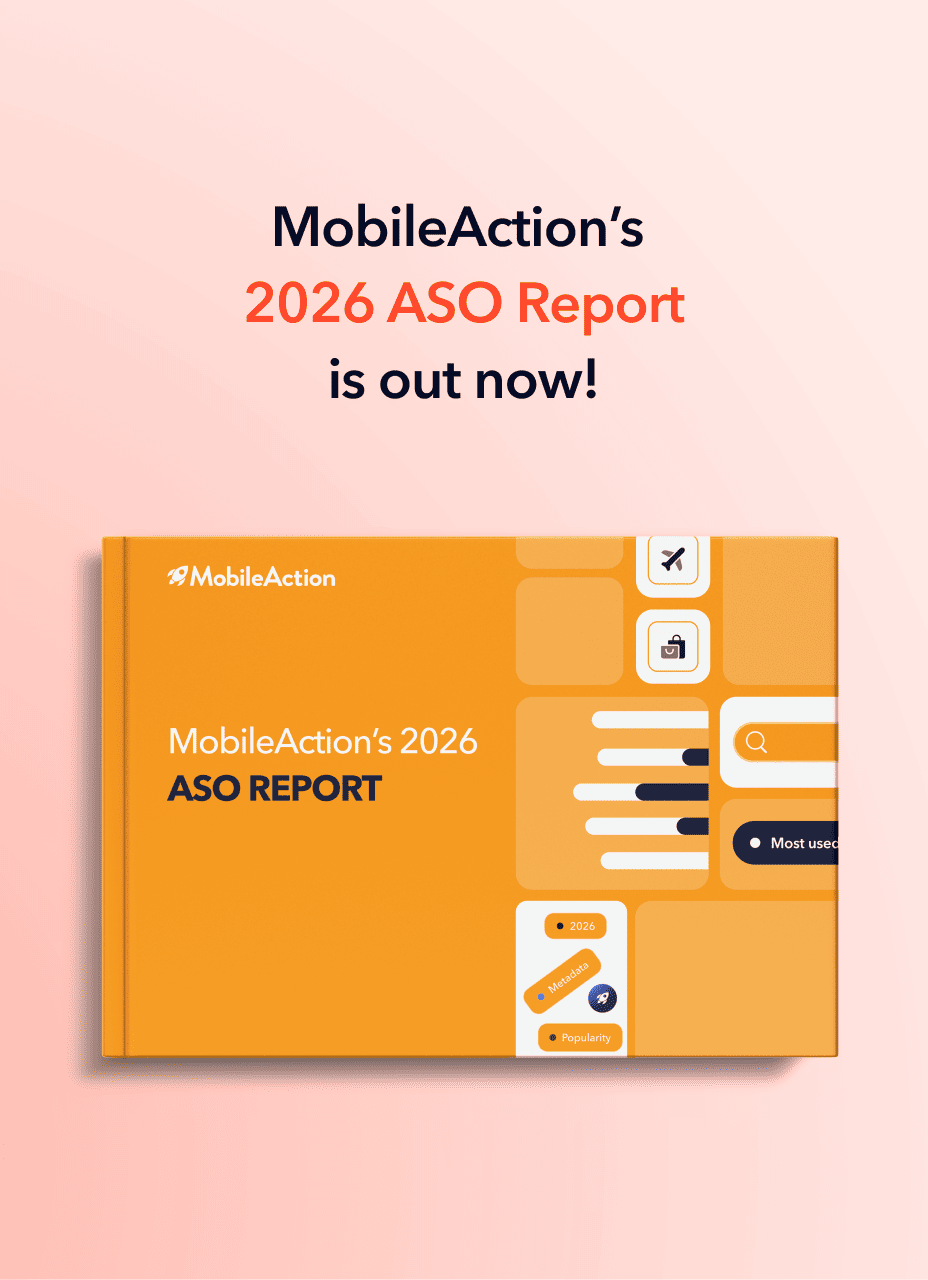
Deepen your understanding with in-depth industry reports.

Expand your horizons through on-demand sessions.

Browse and analyze ads from apps in various industries.